Frequently bought together:
Description
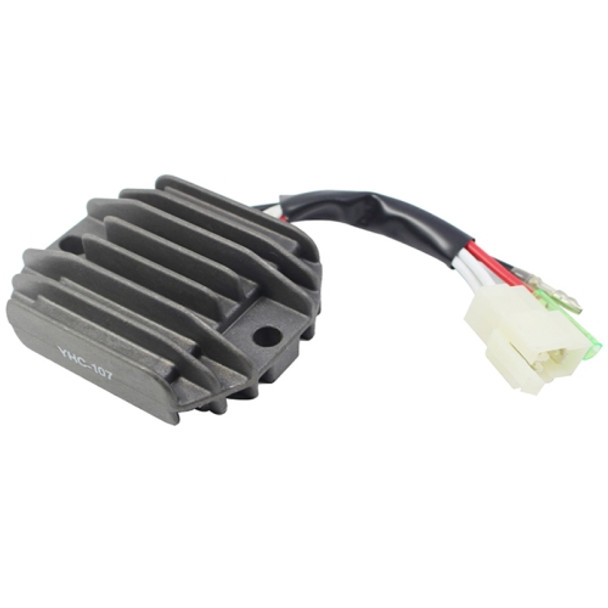
1. Weight: 150G
2. Output voltage: 14.5V
3. Output current: 25A
4. Heat dissipation material: aluminum heat dissipation shell
5. Wire length: 20CM
Applicable models:
For 2343 25A
For Reemplazo Pietcard 1376
For Yamaha YFB Timberwolf 250 1998 2000 4KB-81960-02
For Yamaha YFB250 1997 4KB-81960-01
For Yamaha YFB Timberwolf 250 1997 4KB-81960-01
For Yamaha YFM Wolverine 350 1996 1997 4KB-81960-01
For Yamaha YFM350 1997 4KB-81960-01
For Yamaha YFM Grizzly 600 1998 4KB-81960-02
For Yamaha YFM Kodiak 400 1998 1999 4KB-81960-02
For Yamaha YFM Big Bear 350 1998 1999 4KB-81960-02
For Yamaha YFM Big Bear 400 2000 2001 4KB-81960-02
For Yamaha YFM Wolverine 350 1998 2001 4KB-81960-02
For Yamaha YFM Bear Tracker 250 1999 2000 4KB-81960-02
For Yamaha YFM Warrior 350 1999 2001 4KB-81960-02
For Yamaha YFM Warrior 350 1996 1997 4KB-81960-01
For Yamaha YFM400 2001 4KB-81960-02
For Yamaha YFM350 1995 4KB-81960-00
For Yamaha YFM Big Bear 350 1996 1997 4KB-81960-01
For Yamaha YFM Kodiak 400 1996 1997 4KB-81960-01
For Kawasaki KZ250
For Ducati ST3 748
Installation precautions:
1. The rectifier should be installed in a location with good ventilation and good heat dissipation. High temperature will be generated when the rectifier is working, and poor heat dissipation will damage the rectifier
2. The installation steps of the rectifier are to connect the AC input line, the positive and negative outputs are not connected, start the locomotive, measure the positive and negative output voltages, and when the voltage range is reasonable, plug in the positive and negative wires, and then test the positive and negative of the battery or rectifier Check whether the voltage at the end is within a reasonable range. If the voltage range is unreasonable, stop using it and give feedback. The entire installation process should be recorded and saved.
3. Note that the rectifier should be closely attached to the frame when installing it, which is good for heat conduction. You can also add thermally conductive glue between the rectifier and the frame
4. No other wires should be pressed between the rectifier and the frame
5. There should be a fuse fuse between the positive outlet of the rectifier and the battery to prevent the overvoltage from burning out other electrical devices when the rectifier is damaged.


