Frequently bought together:
Description
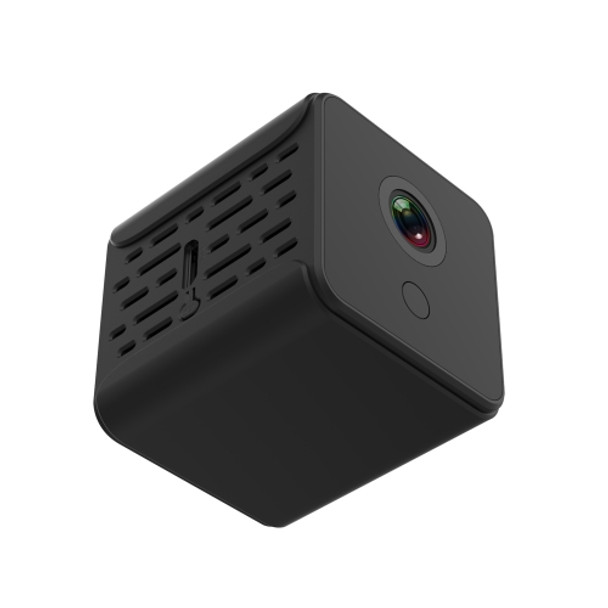
1.This is an easy to carry, miniature, compact IP camera, built-in lithium battery, suitable for taking out the door, support while charging, your phone can easily connect to it, synchronize the pictures taken on your phone screen, support monitoring functions, small and powerful products.
2. Download and install PixPlu APP.
- Android mobile can download by means of scanning the following QR code.
- iOs phone can search PixPlus in App store and can also download by scanning the following QR code (After scanning the QR code, download by selecting the APP in the domestic version or overseas version according to the requirement)
3. Click the device addition“+”
- At the right corner, select“Smart Camera”--> select“Network Addition by Scanning the QR code”
4. Click“If you have already completed the above steps, please click network linkage”
- Click“Network linkage”, input the password of Wi-Fi and click the next step; aim the QR code at the lens of the camera (the interval of the mobile and the camera is 10 to 20cm). After seeing the“blue lamp flashes”, click“I have heard“beeps””
5. Wait the equipment is linked. The network is successfully linked, then the blue lamp is on for a long time
- “Start to experience”and enter the real-time preview interface;
6. Addition of AP Hot Spots
7. Click the device addition at the right corner“+”--> select“Smart Camera”--> select“Addition of AP Hot Spots” and click“If you have completed the above steps, please click the network linkage”--> click the“Next Step”
8.The equipment will start the WiFi at the beginning of“PIXPLUS_AP_XXXX”. Click“Go to the setting”--> Select“PIXPLUS_AP_XXXX”, return to the app interface after linking the“WiFi”and click“Next Step”after returning to the interface
View AllClose
2. Download and install PixPlu APP.
- Android mobile can download by means of scanning the following QR code.
- iOs phone can search PixPlus in App store and can also download by scanning the following QR code (After scanning the QR code, download by selecting the APP in the domestic version or overseas version according to the requirement)
3. Click the device addition“+”
- At the right corner, select“Smart Camera”--> select“Network Addition by Scanning the QR code”
4. Click“If you have already completed the above steps, please click network linkage”
- Click“Network linkage”, input the password of Wi-Fi and click the next step; aim the QR code at the lens of the camera (the interval of the mobile and the camera is 10 to 20cm). After seeing the“blue lamp flashes”, click“I have heard“beeps””
5. Wait the equipment is linked. The network is successfully linked, then the blue lamp is on for a long time
- “Start to experience”and enter the real-time preview interface;
6. Addition of AP Hot Spots
7. Click the device addition at the right corner“+”--> select“Smart Camera”--> select“Addition of AP Hot Spots” and click“If you have completed the above steps, please click the network linkage”--> click the“Next Step”
8.The equipment will start the WiFi at the beginning of“PIXPLUS_AP_XXXX”. Click“Go to the setting”--> Select“PIXPLUS_AP_XXXX”, return to the app interface after linking the“WiFi”and click“Next Step”after returning to the interface


